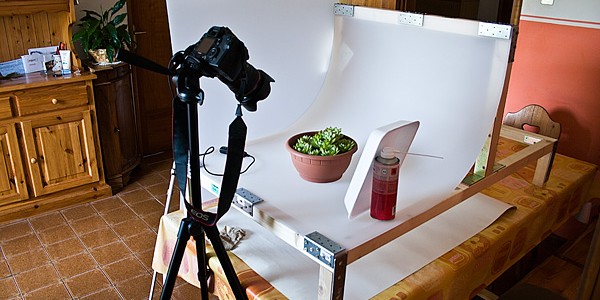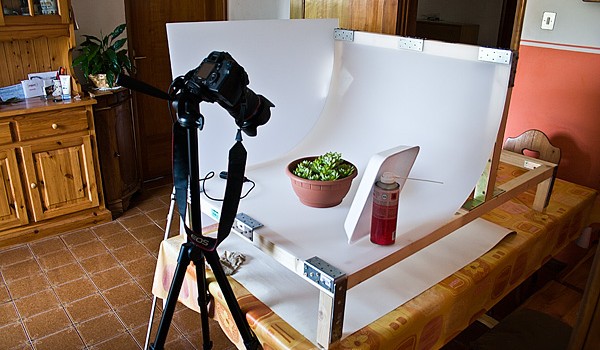


Still life photography is photography that specializes in the use of inanimate objects as composition subjects. It has two forms: “created still life” which is when it is the photographer who entirely decides what will go into the composition of a picture and “found still life” which is when you photograph something as it is without making any changes to it at all. Still life photography is a lucrative field of specialization. After all, every product ad you see in print and the Internet is an example of a still life photo.
If you want to get the hang of still life photography, it may be a good idea to start first with “created still life” since here, you’d have total control over your composition. Find a suitable time and date on your schedule and a suitable space in your house for practicing and experimenting with techniques. Experts recommend the following tips for beginners:
- For your first subject, pick any simple object which you find interesting, but preferably one without any reflective surfaces such as glass or metal since you may have some difficulty handling the lighting. Take a couple of shots of your subject from various levels, angles and perspectives, then try mixing it up with other objects. Combine objects of contrasting shape, color, texture and see what you can come up with.
- With still life photography, you need to have absolute control over the lighting. Aside from the natural light from the sun, you may want to get your self some additional lighting gear. A small lamp with a flexible head, such as an anglepoise, lets you direct the light and is ideal choice for small home studio projects. A small powerful torch with a focusable beam like a Maglite can also give you creative control over thelighting. A small reflector can come in handy when you want to diffuse some light. For an even lighting for your subject, you may want to invest in a good light tent. Take a couple of shots while experimenting with the lighting. Aim to master how you can use the light to make your still life subject look dynamic and alive within its two dimensional setting.
- Keep the background simple and non-distracting. Start with plain, crease-free backgrounds before progressing to those with more interesting textures that will go well with your subject. A plain wall surface or a paper cardboard or paper background will do for your first practice shots. Black velvet fabric when lit correctly can make a subject look as if it’s floating in a black empty space, so get one too if you want to imbue some drama in your compositions.
Begin composing your photograph. Consider using classical composition techniques like the “Rule of Thirds,” “Leading Lines” or “Frame within a Frame” but don’t allow them to limit you. Let your own imagination be your guide. Take your practice shots. View the results in your computer and Photoshop them if you must. Have some shots printed at your neighborhood Costco or Walmart so you can see how they look on actual photo paper.

No comments so far.
Be first to leave comment below.